Monday, 25 October 2010
Thursday, 21 October 2010
Wednesday, 20 October 2010
3D Max Text
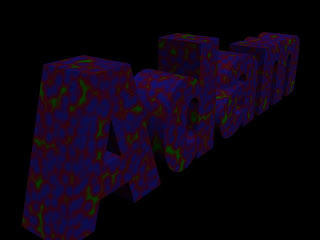
Today in 3D Max we made our names by using the "text" button which is found in the "splines" tab. When we had put our names on 3D Max we edited them by turning them into an editable mesh and then extruding the polygons to make the text 3dimensional. After that we used the "materials" tab to play around and edit the colours of the text with various options such as "cellular", "smoke" etc. These are the texts that I came up with.
Tuesday, 19 October 2010
This is my finished design for my desktop background project. It took me quite a while to get to this point because first I had to draw four designs on paper and then I had to decide which one of the four I was going to make into my desktop background. At first I was going to do the design of the xbox 360 controller but as I started working on it , it didn't look very good so I decided to change to this Asteroids one. I think that my desktop background went well because it looks good and looks like what I wanted it to turn out to be. To make the space ship I started off with a triangle, and then i added a bevel and emboss and also a white stroke to make it look 3dimensional.
Thursday, 14 October 2010
This is my truck that I made using 3D Max. To make the truck I started off with a box and then I converted it into an editable mesh. I then messed around with the polygons, edges, and vertex's to make my truck. To make the bonnet I edited the edges and pulled them down and out, I also used the "Extrude" tool to make the bonnet longer and I also edited the vertex's to change the shape of different parts of the bonnet. To make the roof I selected multiple edges and used the "Extrude" tool to drag the roof up. To make the lights on the bonnet I made a box and moved and rotated it into place to make the shape, I then dragged it into place on the front of the car and then I copied and pasted it to make a second light. For the wheels I simply made a cylinder and edited the size, and then I extruded the middle part of the wheel inwards and then I copied and pasted it three more times to make the other wheels. Lastly for the spoiler I made a box and turned it into an editable mesh, I then pulled the back part up to make it look like a spoiler. Overall I think that I did well with my car and I found it quite easy to make it, however I found some parts hard because when I made the bonnet it was hard because I couldn't mold the shape very well because it was quite complicated.
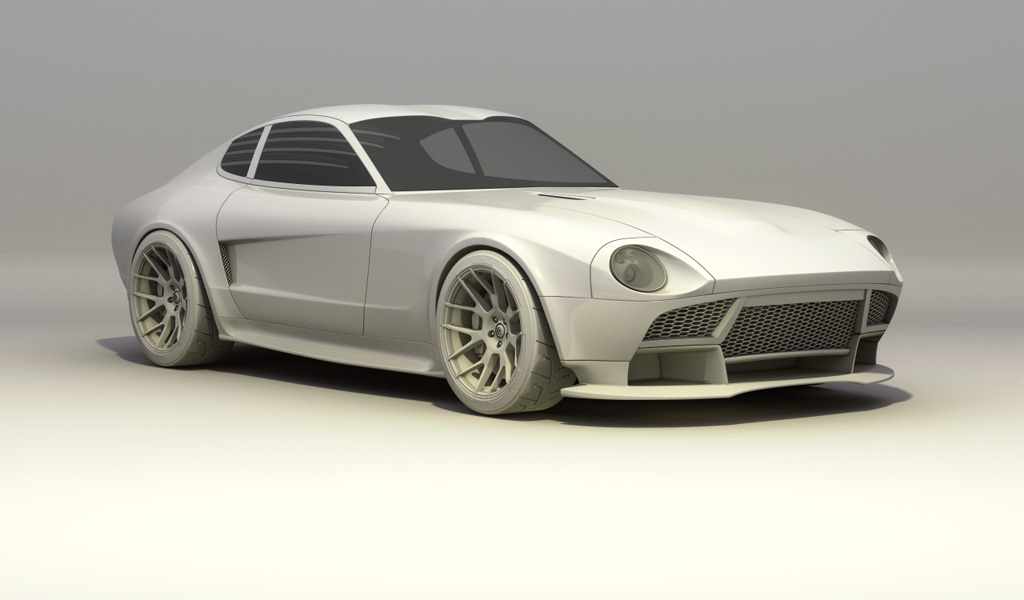
This is a professional example of a 3D car. It is extremely detailed and looks very realistic, The person who has made this is very good at making models and has probably had much more experience with 3D Max. Compared to my car this car is much better because it looks realistic and is very detailed, and mine isn't very detailed or realistic because i haven't had much time using 3D Max
Wednesday, 13 October 2010
My Car
This is my car that I made using 3D Max. To make the car I started off with a box and then I converted it into an editable mesh. I then messed around with the polygons, edges, and vertex's to make my car. To make the bonnet I edited the edges and pulled them down and out, I also used the "Extrude" tool to make the bonnet longer and I also edited the vertex's to change the shape of different parts of the bonnet. To make the roof I selected mulitple edges and used the "Extrude" tool to drag the roof up. To make the lights on the bonnet I made a cylinder and edited it by extruding some of the polygons to make the shape, I then dragged it into place on the front of the car and then I copied and pasted it to make a second light. Lastly for the wheels i simply made a cylinder and edited the size, and then i copied and pasted it three more times to make the other wheels. Overall I think that I did well with my car and I found it quite easy to make it.
Thursday, 7 October 2010
PSD- Logos
This is my logo that I made using Adobe Photoshop. The theme was Equality and Diversity so I got this image from Google.com and edited it by giving it a bevel and emboss, also i gave it a drop shadow which made it look 3 dimensional. The last thing I did was make a circle and coloured it blue, I also had some bevelled text which said "We Are One" but it didn't show up. I think my logo is good because it suits the purpose because it is about Equality and Diversity.
Tuesday, 5 October 2010
These are my designs for the desktop background I will be creating.
My Four designs are based on pictures I got from the Internet, but I am going to change them by using Adobe Photoshop so it isn't copyright.
My First Design is a hand punching through a wall. I got the idea for this design because my teacher was talking about it and so I thought i would make this design. On the picture I will have to change the brick wall colour to make it more realistic, also I will colour the hand a skin colour. For the icons each individual one will sit in a brick so then it wont overlap the picture, also the Shipley College logo and the Media Suite logo will be a reddish colour to suit the design of the background. The six rules will be in the right hand side in the bricks.
My Second Design is an Xbox 360 Controller and in the background is the menu when you push the Xbox Guide Button. I chose this as an idea for my background as I own an Xbox and thought that it would make a good background. The icons will go around the side as there is space, also the background will be a light-dark green because it suits the xbox colours, For the controller I will take a picture of one and then play around with it on photoshop and it will be black because that is the colour of my controller. the six rules will be in the middle on the menu underneath the controller.
My Third Design is a Shark jumping out of the sea. I got the idea from the internet when i was searching for tribal animals i found this picture of a shark. I will have to change the shark so it isn't copyright by changing the colour to black. The icons will be at the left hand side of the picture and the logo and rulesa will be at the right hand side.
My Last Design is a picture of the arcade game "Asteroids" which involves a spaceship shaped like a triangle shooting some asteroids in space. I got the idea from a previous desktop background which was "Space Invaders and so I thought I would make one of my designs an arcade game. The icons will go down the left hand side and the Shipley College logo will go at the top right corner, the media suite logo will go at the bottom and I will change the font of this and also the shipley college logo to make it more arcade text. Finally I will put the rules at the right hand side in the middle and I will also change the text for this.
Subscribe to:
Comments (Atom)


